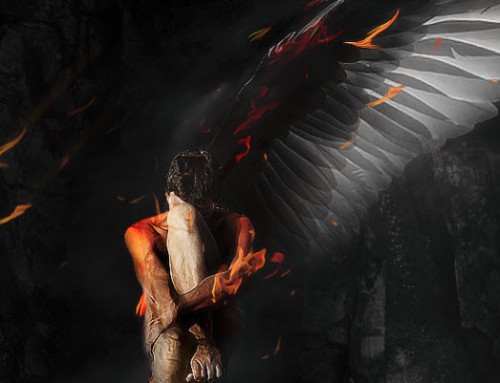
In this tutorial, I will show you the steps I took to Design a One-Winged Fallen Angel Scene in Photoshop. We will mainly go through some selection techniques, image adjustments, liquify filter as well as some lighting effect rendering skills. This is an intermediate tutorial so some steps can be tricky, but why not have a try!
Note: The Photoshop tutorial is done in CS6 – therefore some screenshot may have slighting different layout as in the earlier version. Some brushes are exclusive to Photoshop CS6.
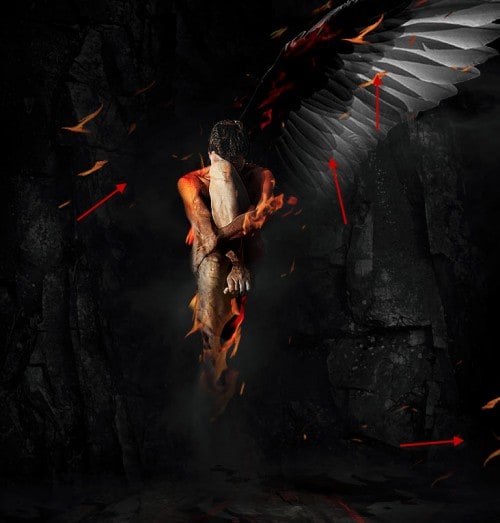
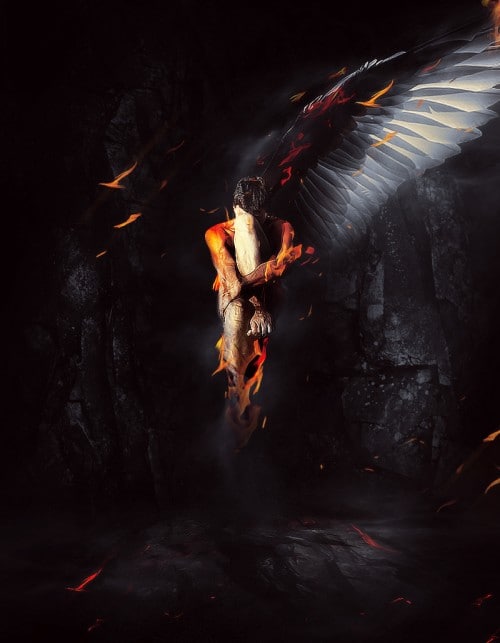
Here is a preview of the final effect I have for this tutorial: (click to enlarge)
PSD File Download
You can download the PSD File for this tutorial via the VIP Members Area for only $6.95/Month (or less)! You will not only get this PSD File, but also 100+ other PSD Files + Extra Goodies + Exclusive Photoshop tutorials there. Signup now and get exclusive :) Find out more about the VIP Members Areas
OK Let’s get started!
To complete this tutorial, you will need the following stocks:
Ground (Rock)
Step 1
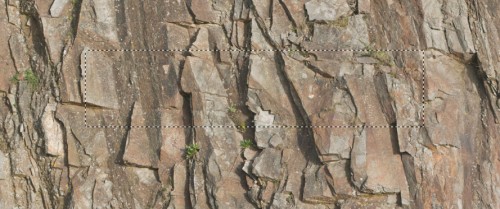
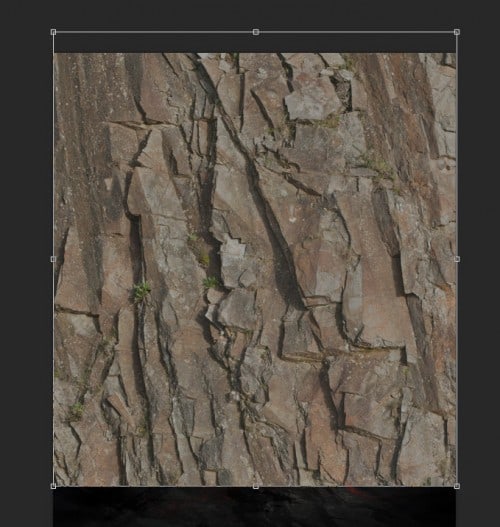
Create a new document sized 800px * 1030px with black background. As usual we will start preparing the ground texture. Load the rock texture into Photoshop and select a piece as shown below:
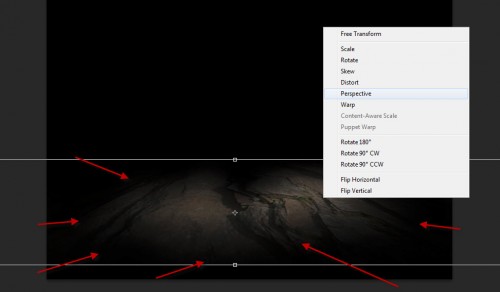
Erase the edges and perspective this as shown below for some depth:
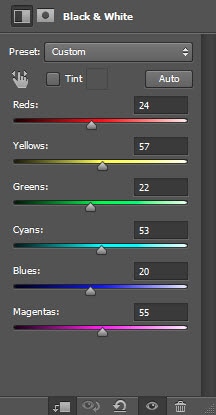
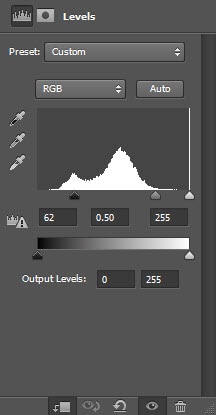
Add the following 2 adjustment layers on top of this ground layer:
Black and White
Levels
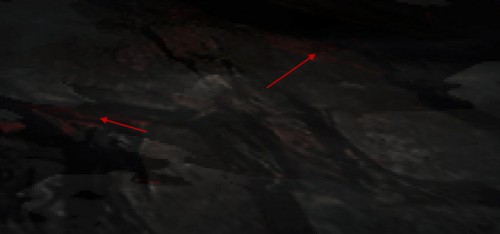
Create a new layer on top and use a hard black brush to paint some pattern on the ground, and this creates a uneven surface for the ground:
Use a red brush to paint some fiery texture on the ground as well:
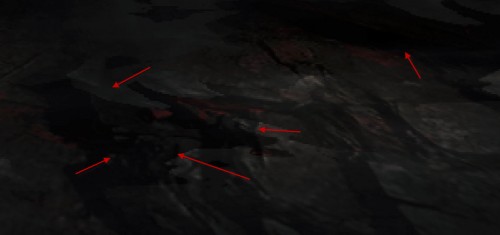
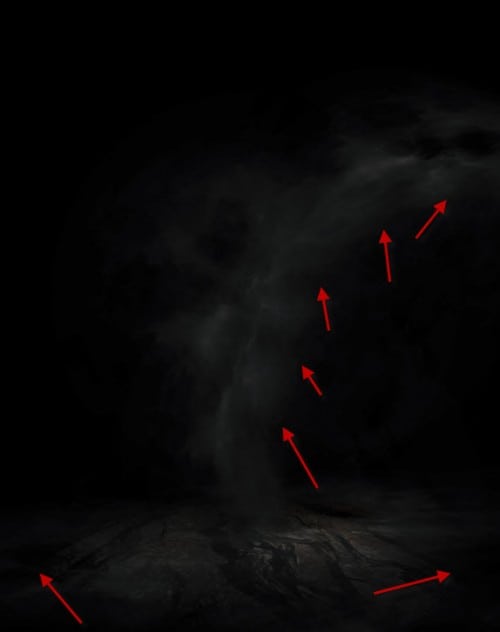
Then, use a cloud brush (set brush opacity and flow to around 40%) and paint some cloud texture above the ground. You can also use the Warp Tool to warp the cloud so it forms a curvy shape:
Step 2
We will add some stone background texture as well. So grab a piece from the stone texture and paste it onto our document as shown below:
Erase the the centre and the edge portion of the texture with a soft eraser:
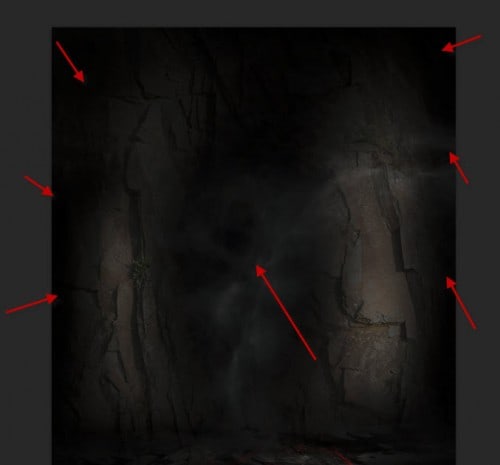
Add the following 3 adjustment layers as clipping mask to this texture:
Black and White
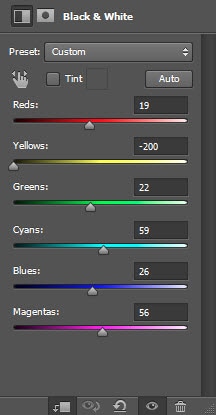
Levels
Curves
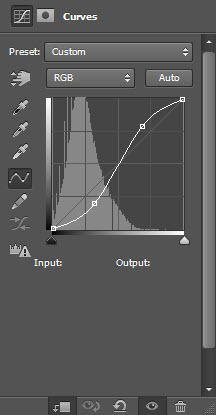
and here is the effect so far:
Step 3
Load the model image into Photoshop and cut out the model, paste it onto the centre of the canvas as shown below:
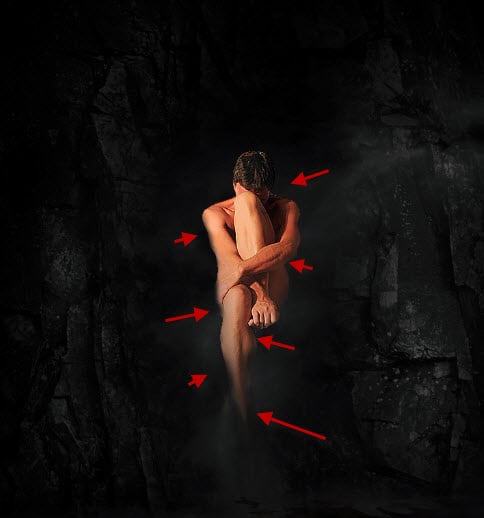
Add the following 3 adjustment layers as clipping mask to this model layer:
Black and White
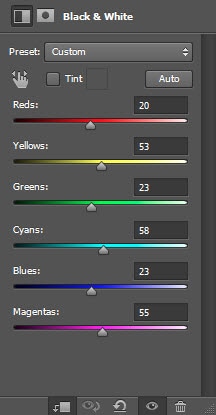
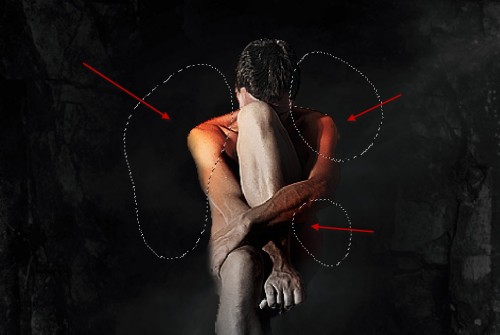
Erase the following portion on the black and White adjustment layer mask to add some colour variation:
Levels
Curves
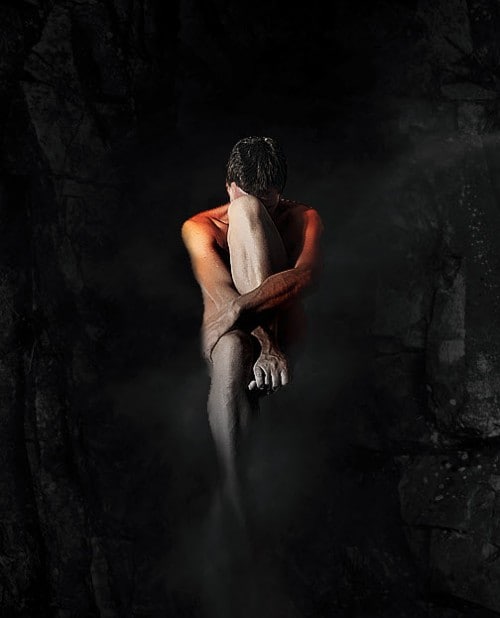
and here is the effect so far:
Step 4
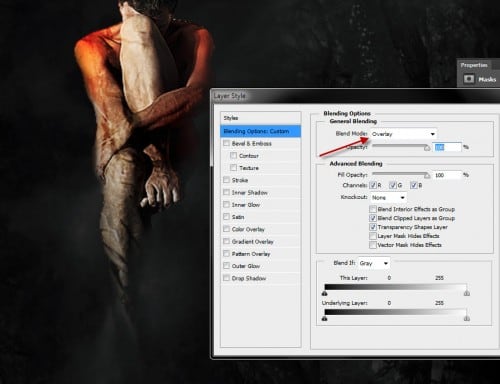
We will add some rock texture over the model just to made the scene a bit more surreal. Copy and paste a piece of the stone texture over the model, and set it as a clipping mask layer to the model layer (put this one above the previous adjusment layers for the model):
Change the blending mode of this layer to “Overlay”:
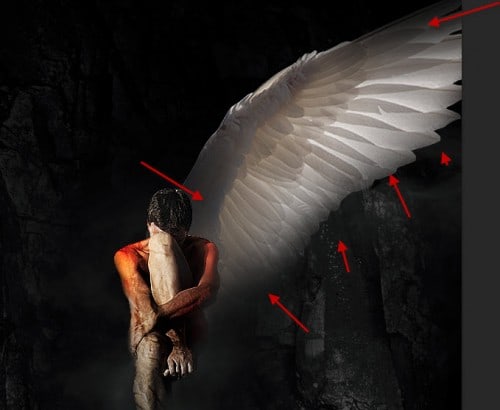
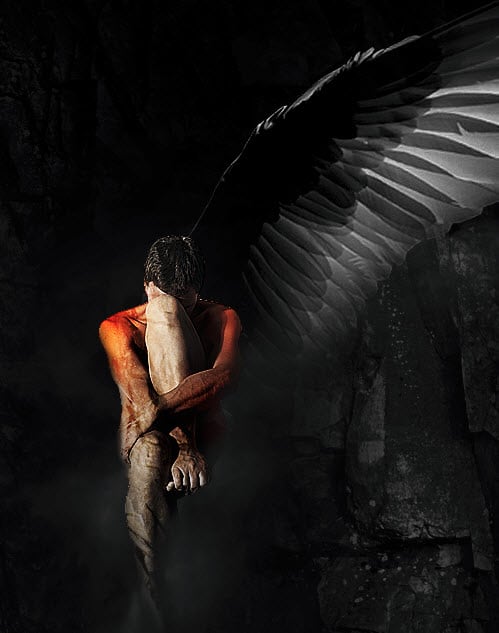
Load the wing image into Photoshp and cut out the wing, paste it onto our document and attach it to the back of the model as shown below:
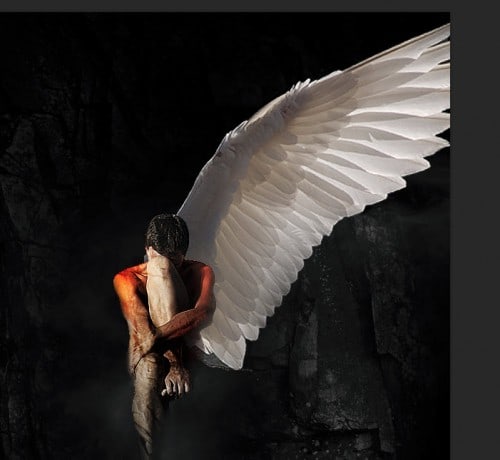
Use a soft eraser to fade the edges of the wing to add some depth:
Add the following 2 adjustment layers to this wing layers:
Black and White
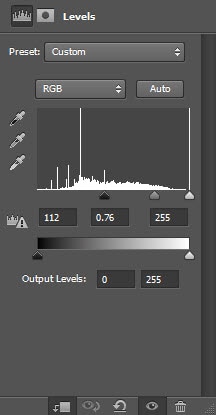
Levels
and here is the effect so far:
Step 5
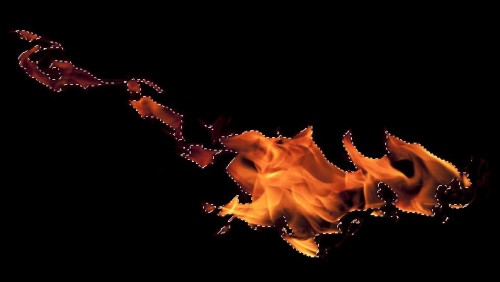
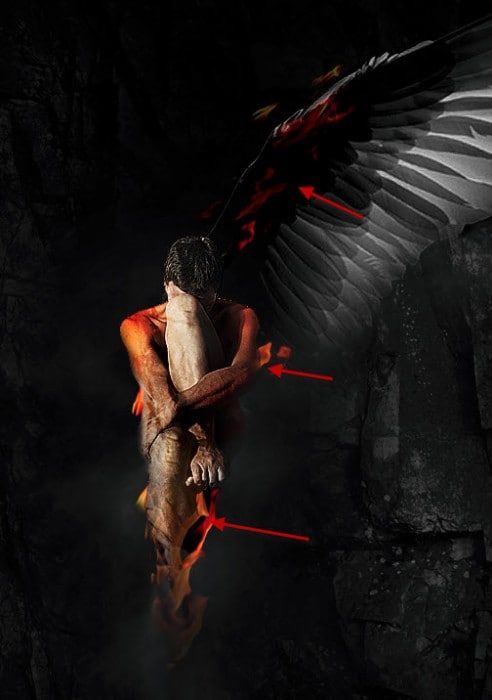
We will add some fire texture onto the image, select the fire portion from the fire image we downloaded earlier:
Copy and paste this fire onto our document, duplicate it a few times. Resize and attach them to various parts of the model and wing as shown below:
Hint: Experiement with different blending mode (overlay, screen, color dodge) and see what effect they bring to the image.
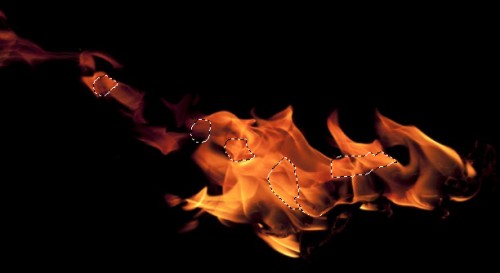
Now we can go back to the fire image and select a few pieces with the quick selection tool as shown below:
Copy and paste the selection onto our document, use the liquify filter to turn them into little strips as shown below:
Duplicate this layer a few times and move them around document, as shown below:
Step 6
We will add some lighting effect to the image. Flatten the image and duplicate the background layer, apply the following Motion Blur setting to this duplicated layer:
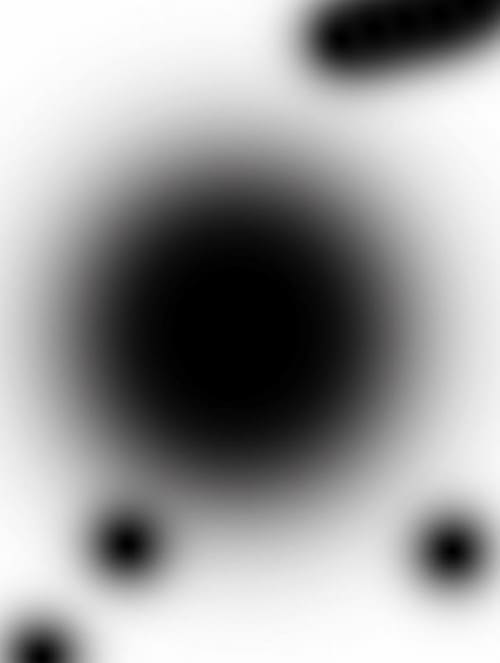
Add the following layer mask to this motion blur layer:
and you will have the following effect:
Finally I adjusted the colour a bit with the colour balance adjustment layer and here is my final effect: (click to enlarge)
That’s it for this tutorial! Hope you enjoy it and find it useful! Drop me a comment below if you have any question.
Till next time, have a great day!

